
Blogs
How to Measure Your Ring Size at Home: An Australian Guide

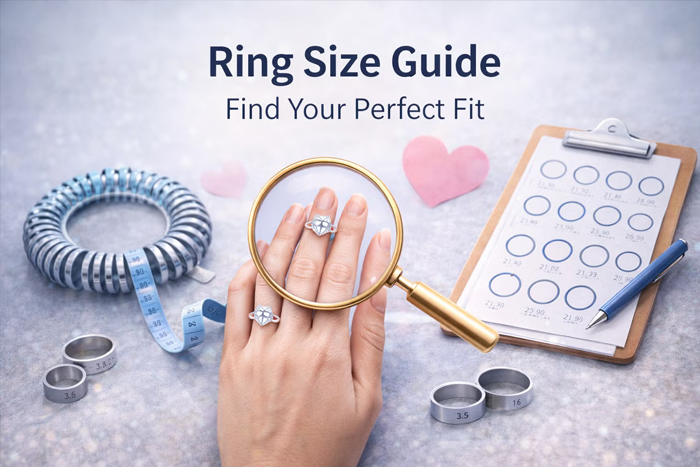
A ring half a size too large will spin on the finger and eventually slip off. Half a size too small and it will not clear the knuckle at all. For an engagement ring, where the piece is often a surprise, the margin for error feels uncomfortably thin.
Measuring accurately at home is straightforward once you know how Australian sizing works and which variables quietly throw the result off.
How Ring Sizing Works in Australia
Australia uses the alphabetical sizing system, shared with the United Kingdom, Ireland and New Zealand. Sizes run from A upward through Z and are based on the internal circumference of the band in millimetres.
This matters because most ring sizing content online is written for the American market, which uses numbers from 1 to 13. If you follow a US guide and arrive at a size 7, that means nothing to an Australian jeweller. It corresponds to roughly an O here. Confusing the two is the most common sizing error we see.
| AU / UK | Circumference (mm) | Diameter (mm) | US |
| J | 49.3 | 15.7 | 4.75 |
| K | 50.0 | 15.9 | 5.25 |
| L | 51.2 | 16.3 | 5.75 |
| M | 52.5 | 16.7 | 6 |
| N | 53.8 | 17.1 | 6.5 |
| O | 55.1 | 17.5 | 7 |
| P | 56.3 | 17.9 | 7.5 |
| Q | 57.6 | 18.3 | 8 |
| R | 58.9 | 18.8 | 8.5 |
| S | 60.2 | 19.2 | 9 |
| T | 61.4 | 19.5 | 9.5 |
| U | 62.7 | 20.0 | 10 |
| V | 64.0 | 20.4 | 10.5 |
| W | 65.3 | 20.8 | 11 |
| X | 66.6 | 21.2 | 11.5 |
| Y | 67.8 | 21.6 | 12 |
| Z | 69.1 | 22.0 | 12.5 |
The most common sizes among Australian women fall between N and P, and among men between T and V. Use these as a sanity check on a measurement you have taken, never as a substitute for one.
Before You Measure
Fingers change size throughout the day. Measuring at the wrong moment is the most frequent cause of a ring that never quite fits.
- Measure in the late afternoon or early evening. Fingers are smallest in the morning and swell as the day goes on.
- Measure at normal body temperature. The difference between cold hands and hot hands can be a full size.
- Avoid measuring after exercise, alcohol, a salty meal or on a humid day. All cause temporary fluid retention.
- If your knuckle is larger than the base of your finger, measure both and choose a size in between.
Method One: The Paper Strip
The most accessible approach, and reliable to within about half a size when done carefully. Cut a strip of paper roughly 5mm wide, or use non-stretch string.
Figure 1: Wrap, mark, then measure. Checking that the loop still clears your knuckle is the step most people skip.
Repeat the process three times on separate occasions and take the most consistent result. A single measurement is a data point. Three is a measurement.
Method Two: Measure a Ring You Already Own
If you have a ring that fits the correct finger well, measuring it is more accurate than measuring the finger, because it removes the question of how tightly to pull.
Figure 2: Measure the internal diameter, straight across the widest point.
Choose a ring worn on the same finger of the same hand. Fingers on your dominant hand are usually slightly larger, and no two fingers match.
Method Three: Professional Measurement
Both methods above are approximations. A jeweller measuring with a calibrated steel mandrel is not. If the ring is being made rather than bought off the shelf, this is the only method we recommend without qualification. It also accounts for how your specific band width will sit and how the design behaves over a full day of wear.
Sizing for a Surprise Proposal
Several approaches work, in rough order of reliability.
- Borrow a ring she already wears on the correct finger and measure the internal diameter. Return it before it is missed.
- Press an existing ring into a bar of soap or plasticine and measure the impression.
- Enlist a close friend, sibling or her mother. A casual shopping trip produces an accurate size without suspicion.
If you must estimate, estimate slightly large. Reducing a ring by a size is simpler and less costly than enlarging one, and a ring that is momentarily loose is a far better outcome on the day than one that will not go on. There is also no obligation to have it perfect at the moment of proposing. Many couples deliberately size the ring afterwards, together.
How Band Width Changes Your Size
A wide band covers more of the finger and creates more friction, so it feels tighter than a narrow band of identical size.
Figure 3: Bands up to 4mm need no adjustment. From 5mm to 7mm, go up half a size. At 8mm and wider, go up a full size.
When a Ring Cannot Be Resized
Most rings can be resized within about two sizes either way. Some cannot be resized at all, which makes the initial measurement considerably more important. Full eternity rings, tension settings, bands with pattern work running the full circumference, and rings in tungsten or titanium all fall into this category.
Getting It Right From the Start
Measure in the evening, measure more than once, and account for the width of the band you have chosen.
At Adorne, sizing is confirmed as part of your consultation before we produce your 3D CAD render, so the design you approve is built to fit from the outset. If you are sizing for a surprise, we are happy to talk through the discreet options and adjust the piece once it is on the right hand.
Book a consultation with Adorne for a professional sizing and to begin your bespoke design.